
Designing a Modern Garden Path with Natural Stone
A path spends more time being looked at than almost anything else you build in a garden. You walk it every day, and visitors follow it without thinking, which means a wobbly line or an awkwardly spaced joint gets noticed long before the planting behind it. Natural stone gives you a surface that ages gracefully, holds the light well and sits comfortably alongside brick, timber and greenery. The trick is to design it as a piece of architecture rather than a strip of paving.
Start with the route, not the stone
Before you look at a single sample, decide where the path actually goes. Lay a hose on the ground and walk it in the rain. You will quickly discover where you naturally cut the corner, and if the path does not follow that line, people will end up on the soil beside it.
Keep curves generous. A path that turns within a metre or so looks fussy and is fiddly to lay. A radius of two metres or more reads as a deliberate sweep and gives you enough room to cut stones sensibly at the bend. Straight runs have their own discipline: a slight kink in a long straight line is far more obvious than a curve, so set out with string lines and check them from an upstairs window before you dig.
Think about what sits at each end. A path that leads the eye to a bench, a large pot, a gate or a single tree feels purposeful. One that simply stops at a blank fence feels unresolved. Decide early whether the path is purely a route or also a place to stand, because a route can be narrow while a spot where people pause needs room to breathe.
Choose stone that suits the site and your feet
Almost any natural stone can be used outdoors, but they behave differently underfoot and over time.
- Sandstone is the workhorse of British gardens. It is warm in tone, available in riven and sawn finishes, and reasonably forgiving to cut. Softer varieties benefit from sealing, and darker, damp patches can linger after rain.
- Limestone gives a cool, pale, even surface that suits contemporary schemes. It is generally softer than granite, so it marks more easily, but it weathers to a lovely soft grey.
- Granite is dense, hard and highly resistant to staining. It is heavier to handle and harder to cut, but it will outlast most of the garden around it.
- Slate and basalt offer deep, dark tones for a moodier design. Choose a riven or textured face; smooth slate can become slippery when wet or shaded.
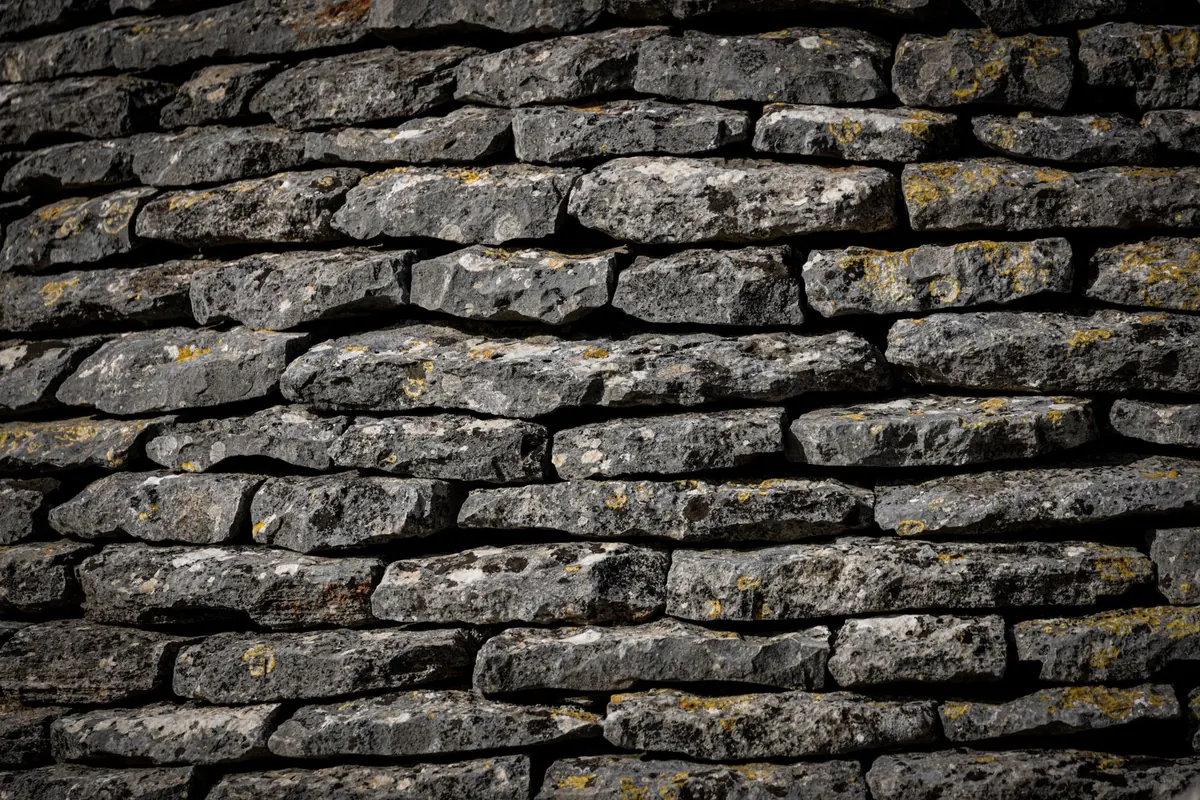
- York stone is a traditional sandstone with a distinctive riven texture. Reclaimed stone has character but varies in thickness, which affects how it is laid.
Finish matters as much as material. A riven face has texture, disguises marks and grips well in the wet. Sawn and honed faces give the crisp edges that most modern schemes depend on. Polished stone has no place underfoot outdoors, whatever the showroom suggests.
Get the widths right and the rest follows
A path used by one person at a time needs about 900mm between planted edges. For two people to pass comfortably, allow 1,200mm. A main route from the house to a gate or terrace is better at 1,500mm or more, especially if you are carrying trays or wheeling a barrow.
Width is also a paving decision. If your chosen stone comes in 600mm widths, two courses plus joints land neatly at roughly 1,200mm. Measuring in courses rather than in round numbers saves a great deal of cutting.
Drainage needs thinking about now, not later. Aim for a gentle fall of about 1:60 across the path, running away from the house. For a pedestrian path, a compacted sub-base of around 100mm of Type 1 is typical; increase it if vehicles will ever cross. Sawn stone laid on a mortar bed is commonly around 20–25mm thick, while riven stone often comes thicker, which is an advantage when bedding on sand.
Patterns that read as modern
Contemporary paths tend to be calm. One material, one pattern, clean lines and a considered edge will look better than a patchwork of ideas.
Long-format planks
Rectangular stones laid in a running bond look tidy and draw the eye along the route. Run the long axis across the direction of travel for a crisp, ladder-like effect, or along it to make a narrow path feel longer. Keep the offset consistent, usually one third or one half of the stone length.
Grid and coursed layouts
A simple square grid in large format stone suits formal, architectural gardens. Coursed layouts with varying widths give a more relaxed feel and work well with riven stone. Whichever you choose, avoid mixing more than two sizes unless the design is genuinely random, and always agree a sample panel with your installer before the whole path is laid.
Joints, edges and the details people notice
Joints do much of the visual work. Sawn stone with narrow joints of around 6–10mm looks sharp and contemporary. Riven stone needs wider joints, which is why it tends to suit informal settings. Point with a mortar mix or a resin-based jointing compound that matches the stone rather than fighting it; a dark joint around pale stone draws attention to the grid.
Edges decide whether a path looks built or simply placed. Options include laying flush into turf with the soil level just below the surface, setting a row of granite setts as a visible kerb, or using a hidden steel or concrete edge where the path meets gravel or a border. Whatever you choose, keep it consistent along the whole run. At steps, insist on properly mitred or returned corners rather than a row of cut-off slivers.
Lighting and planting to finish the job
Light the path, not the eye. Low bollards of around 700–900mm, small recessed deck lights or in-ground uplighters placed off the walking line will guide you without glare. Keep fittings few and evenly spaced, and put them on a separate circuit or dimmer so the path can glow gently rather than switch on like a runway.
Let planting soften the edges. Low thymes, mind-your-own-business and ferns will creep over a stone edge and blur the hard line. Clipped box or yew balls set at intervals give structure without clutter. If you want gravel margins, leave a gap of 50–75mm between the stone and the soil so plants have room and stone does not sit against damp earth.
Building it in the right order
- Set out the line with pegs and string, and check it from an upstairs window.
- Excavate to the right depth for sub-base, bedding and stone, allowing for the fall.
- Compact the sub-base in layers and check levels with a straight edge.
- Lay a sample square of three or four stones to confirm pattern, joint width and colour.
- Work from a fixed edge, checking line and level every few stones.
- Point the joints, clean off any residue before it sets, and leave the surface to cure before walking on it.
Natural stone asks for a little patience and repays it for decades. Sweep it rather than washing it down with a jet washer, which can erode joints and strip the surface, and re-sand or re-point when joints begin to fail. If the ground is sloping, drains poorly, or the path sits above a retaining wall, bring in a qualified landscaper or engineer before you start digging; getting the structure right at the outset is far cheaper than rebuilding it later.
Photo: LPArt / Pixabay